
As I am a complete beginner to Photoshop, I have decided to get into the swing by practicing with a image of Mickey Mouse that I have copied from Google Images.
Here I have simply copied and pasted another copy of the image, to make two, and transformed the image to a different angle.

Here I have experimented with the effect that Photoshop offers, and used the mosaic and glitter effect.
I also made both characters bigger, by also stretching out certain areas. As you can see, both images have been made to a larger scale.

Now, I needed a background, and some body to the image. I didn't want to make the negative space to overcrowded at first, and so I figured out how to us the gradient tool. This is the back layer, with the green to yellow. I didn't want to use the normal colour that is used for sky (Blue), so I went with something different.
After this, I created another layer into the image and inserted a picture off Google Images of Amsterdam's light district. I don't know why I used this, there is no meaning, it was just a random choice.
I distorted the image by using the magic wand tool, and selecting the edges of the buildings. This is how I created the speckled effect through to the green/yellow background.
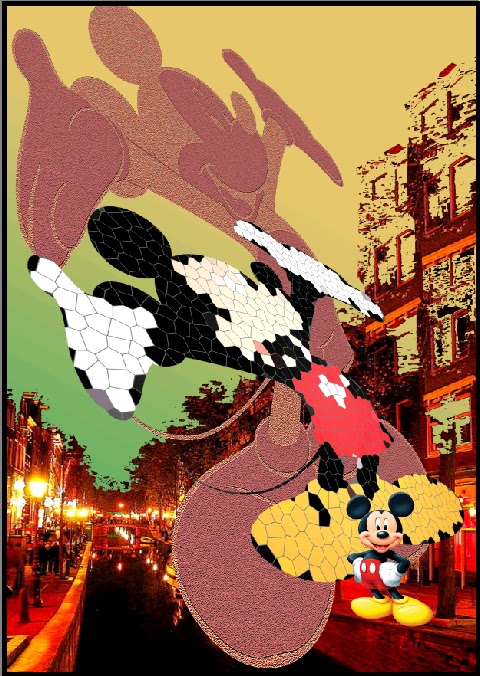
Finally, to finish off the illustration I took part of the building using the selection tool, and copied it into a separate layer. I continued this process three times, by making the building on the right taller and taller.
The final detail that I added to this illustration before I decided that it was finished, was adding another of the original Micky Mouse image that I began with. I like this touch, even though it's very small. I like the idea of finishing with what I started with.
No comments:
Post a Comment